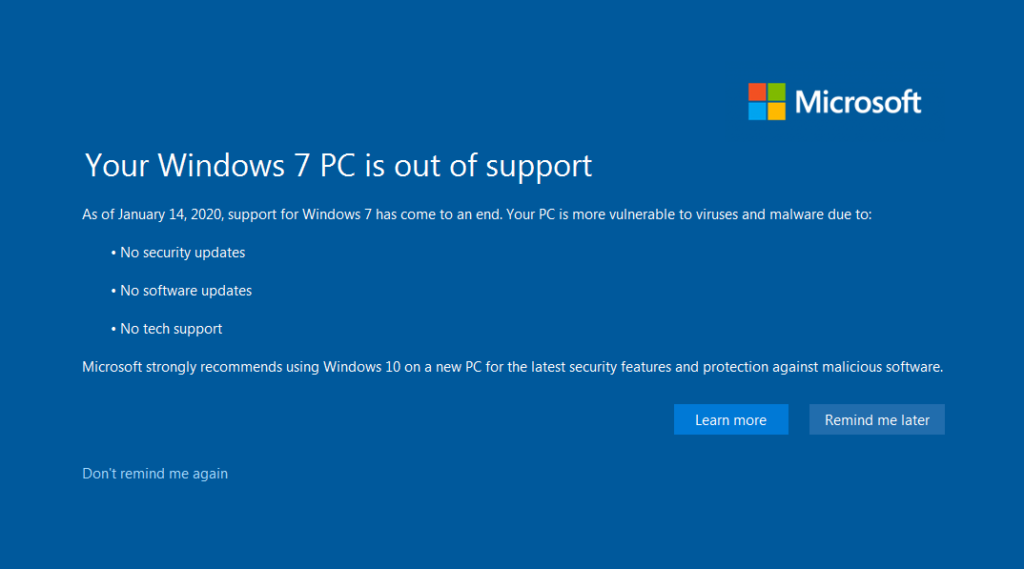
Windows 10 ends support in October 2025. Annoying.
I had a desktop PC on Win10. The desktop is very fast, and was a recent hand-me-down from a friend who is a gamer and has upgraded.
But it has an i5-4670K as its CPU, which is not supported by Win11. So I had to figure out what to do.
Possible options:
- Ignore the deadline – definitely not wise
- Upgrade/replace the PC – seems wasteful because apart from arbitrary Windows 11 support requirements, it’s actually fine
- Pay for support – Extended Security Updates for home users will cost US$30 and may not run for more than a year
- In my case I could get the laptop docked properly and just use that – and scrap the desktop – a big waste
- Perhaps I could migrate to Linux
Switching to Linux?
I have to admit, attempting to abandon commercial software is appealing to me.
Which Linux distro? I’d probably lean towards an LTS version of Ubuntu, because it’s well supported, and hopefully the interface is fairly familiar as a Windows user.
A lot of the stuff I do on this desktop is web-based, so apart from installing the OS, the main challenge would be to find equivalents for the non-web applications that I use:
- Word, Excel, Powerpoint – shouldn’t be too hard; mostly covered by LibreOffice and variants
- I also use Access. Libre has Base… but I tried the Windows version and found it impossibly complicated and limited.
- Paint.Net – there seem to be a few options – not sure if any support HEIC images off iPhones
- A video editor – I recently tried Da Vinci Resolve for Windows, and have been impressed. I notice there’s a Linux version. Officially it only supports CentOS, but there seems to be a way to get it onto other distros. The other one I’ve used a bit recently is Capcut, which also has a Linux version.
Printer/scanner support could be a challenge. I have an old Canon MP610 that I don’t particularly want to replace either.
How to dodge Win 11’s requirements
There’s one more option. Turns out there are ways to dodge Microsoft’s requirements for specific CPUs, TPM and Secure Boot.
You can use Rufus to create a customised Windows 11 install ISO.
These articles go into some detail: Tom’s Hardware, ZDNet/Ed Bott.
In short:
- Download a Windows ISO
- Run Rufus to create a USB disk image that removes the system requirements you don’t want
- Run the USB drive SETUP.EXE
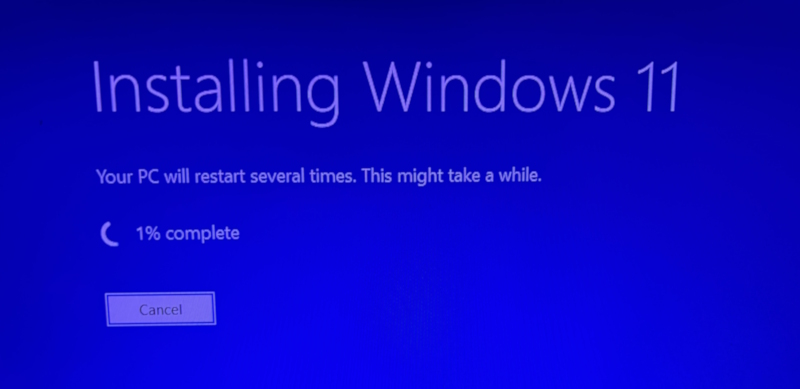
That’s about it. Follow the prompts and Windows 10 will be upgraded to 11.
One gotcha I noticed while trying this first on an old laptop: if you choose a different language ISO than you were using for Win10, you can’t keep your applications. I had been on the standard English US version of Win10, and downloaded the Win11 English International version.
Most of us Australians are probably on the English US version. It seems to be a bit hard to tell, but if you check a Windows option/setting such as desktop personalisation and it says Color (US spelling) you’re probably on it. Get the correct ISO and you can keep everything. You’ll be warned before it starts if you get the wrong one.
When upgrading you may also see a warning about entitlement to updates. The crowd on Reddit think this is just legalese to cover themselves – or that you’ll only get security updates, not feature updates. After I upgraded my laptop, Windows Update was able to find and install security updates.
After doing the old laptop, the second computer I tried was my desktop PC… this also went smoothly.
Not saying I won’t dabble with Linux in the future, but for me I’ve solved the immediate problem.
Hope this helps others.